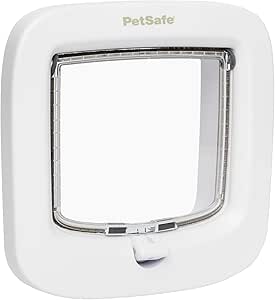
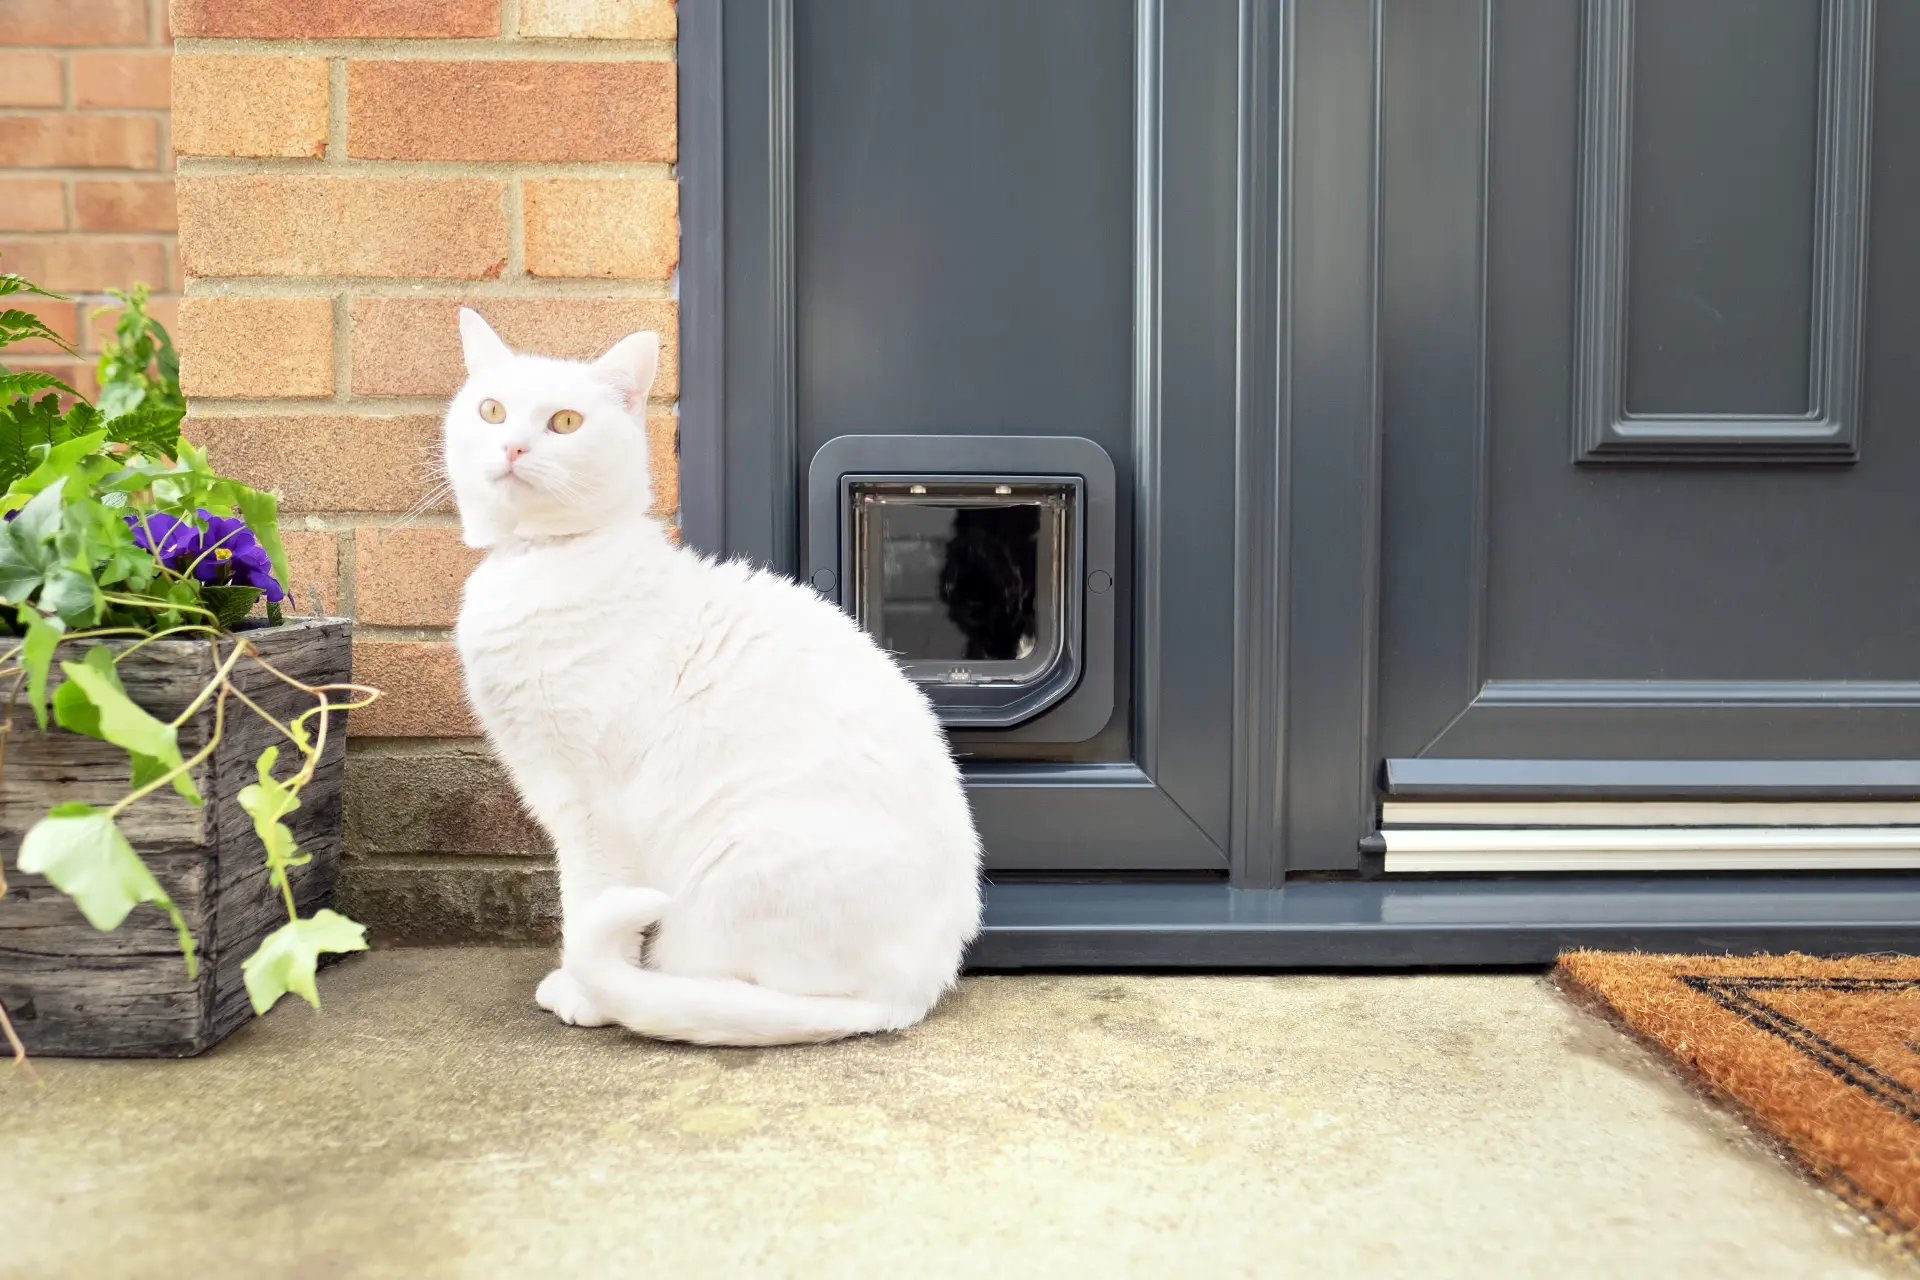
How to Install a Cat Flap in a uPVC Door (UK Guide)
Before You Start
Check that you're looking at a suitable infill panel, not the structural door frame or an unknown reinforced section. A white or wood-effect surface doesn't tell you what's behind it. Some panels contain metal or other layers that change the installation method.
Get the door or panel specification and the exact flap's instructions before cutting. Tapping the panel is not a reliable way to locate reinforcement. If construction is uncertain, ask the door supplier or a fitter.
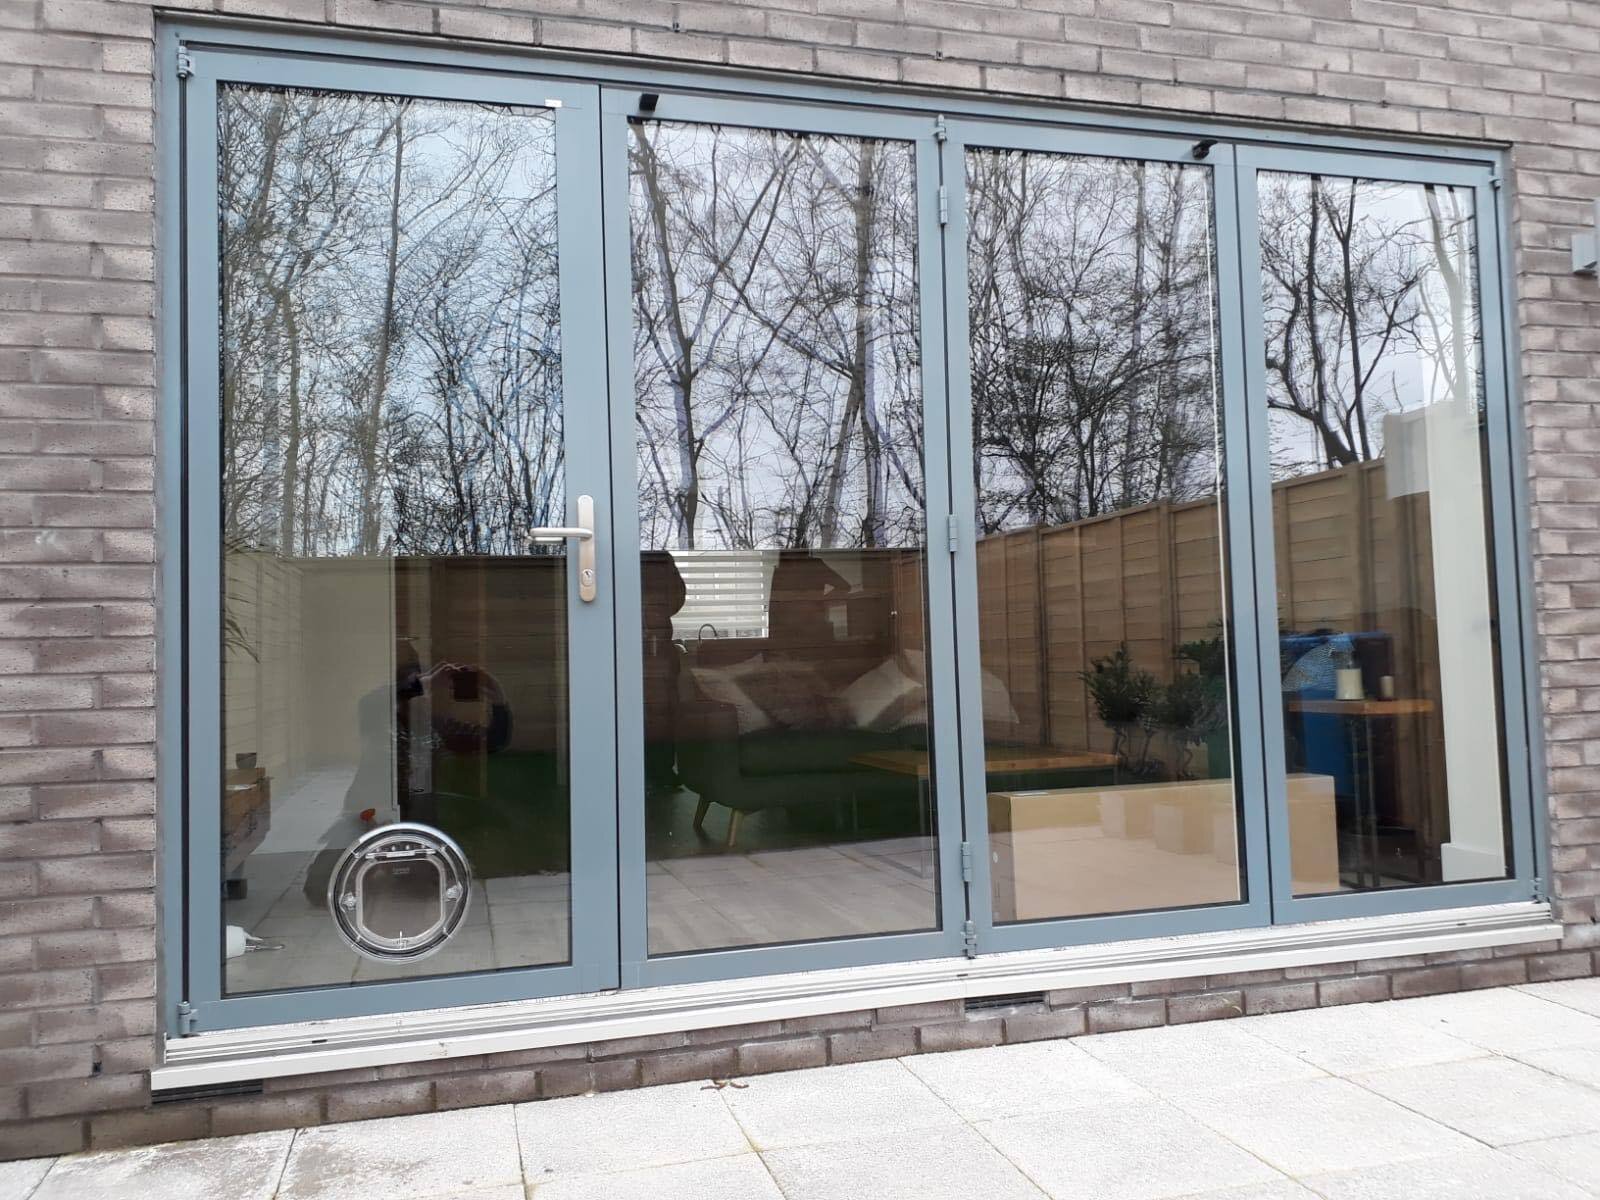
A glazed section is a different job: existing glass cannot be cut, so it needs a new toughened panel made with the aperture prepared in advance. For a microchip model, check and test chip compatibility before committing to the hole. PetSafe UK installation guidance distinguishes ordinary PVC/uPVC fitting from installations requiring an adaptor.
Tools You'll Need
Use the tools and protective equipment specified by the exact flap manual and suitable for the confirmed panel material. Typically this includes a drill, an appropriate jigsaw blade, the correct template, pencil, ruler, level, screwdriver and dust protection.
Check the required pilot-hole size, blade and screw length rather than treating one dimension as suitable for every model. Keep pets and children away from the work area. Sealant, where specified, must be suitable for the panel and used according to its cure instructions.
Step 1: Pick the Position
Measure the cat's comfortable belly height and follow the flap manufacturer's positioning guidance. Check the approach and landing on both sides of the door.
The cut-out must stay clear of the structural frame, reinforcement and moving door hardware. Do not apply a universal edge clearance to an unknown door. Check the panel and flap instructions together; stop if the construction or permitted position is uncertain.
Check the full door swing, the flap surround and any nearby step before marking. If the door slides or folds, ask for a clearance assessment first.
Step 2: Mark the Cutout
Use the exact model's current template. Pet opening, outer surround and installation cut-out are different measurements. Do not copy a hole size from a different flap or a glass-fitting guide.
- Confirm the template is for your exact product and print it at the specified scale if downloaded.
- Check its printed scale measurement with a ruler.
- Position it level at the confirmed height on the suitable panel.
- Mark the cut line and pilot holes as the manual directs.
If replacing a flap, compare the actual existing aperture first. A new surround is not proof that the old hole is suitable.
Step 3: Drill Pilot Holes
Secure the door and follow the manufacturer's specified hole positions and drill size. Use appropriate eye protection and keep the work area clear.
Do not drill blind into an unknown panel. If the material differs from the specification or you encounter unexpected metal, stop and have the construction checked. This guide is not permission to cut through reinforcement.
Step 4: Cut the Hole
Use a blade suitable for the confirmed material and follow the exact template and installation instructions. Protect the surface, secure the work and support the offcut. Don't force the blade.
If you encounter an unexpected layer, obstruction or metal, stop. A direct-cut plastic-panel method must not be applied to the door frame, glazed sections or an unknown reinforced panel.
Step 5: Tidy and Test-Fit
Remove loose burrs using an appropriate safe method and clear debris. Check that the tunnel and both surrounds sit as the manufacturer's instructions show, without forcing the unit into the hole.
Check orientation: many microchip models have an interior body and an exterior surround. Don't assume the main unit installs from outside. Choose the correct screws or extensions for the measured panel thickness.
Step 6: Seal and Fix
Follow the model's specified sealing and fixing method. Keep sealant away from sensors, the moving flap and latch. Tighten evenly only as far as required; a distorted frame can make the flap stick.
Allow any sealant to cure according to its label — cure time varies. Then check the flap returns freely, test the lock directions and confirm chip recognition with your cat while supervised.
Use the manufacturer's training setting where provided. A four-way 'in and out' setting is not the same as physically holding a flap open. Don't wedge a powered latch or force your cat through.
Common Mistakes
• Using a generic cut-out instead of the exact model's template.
• Mistaking the outer surround or pet opening for the hole size.
• Cutting an unknown panel or trying to identify reinforcement by tapping.
• Installing the interior body on the wrong side.
• Over-tightening screws so the tunnel distorts.
• Blocking a sensor or moving part with sealant.
• Buying a microchip flap before checking chip compatibility.
For recognition or movement faults after fitting, see our seven-problem troubleshooting guide.
When to Call a Professional
Ask for help if the panel construction is unknown, contains metal, is badly damaged, or the selected position is near structural or moving parts. Glass, composite and sliding-door jobs need their own assessment, not a generic uPVC method.
Prices vary depending on door type, cat flap choice and location. We can install a cat flap you have already purchased. Send your postcode, the model and photos of both sides of the door via our quote form.
See our uPVC fitting service and coverage areas. Installation workmanship carries our 3-year guarantee; manufacturer product terms are separate.
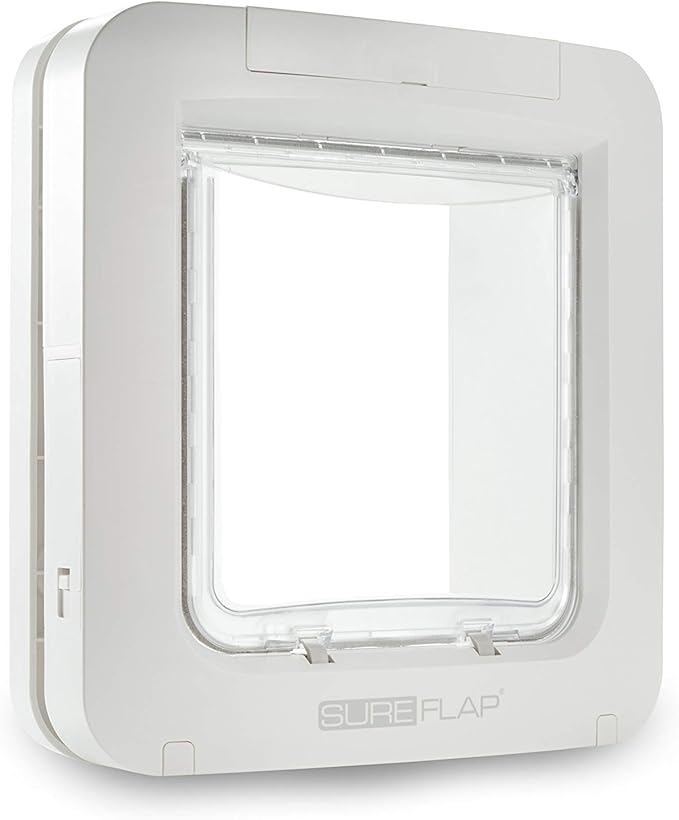
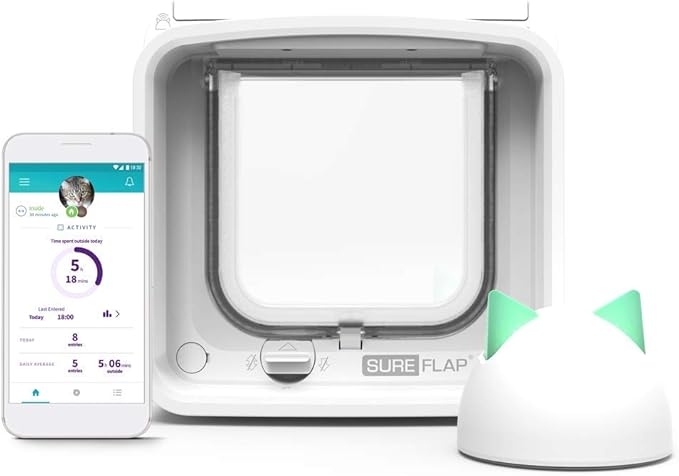
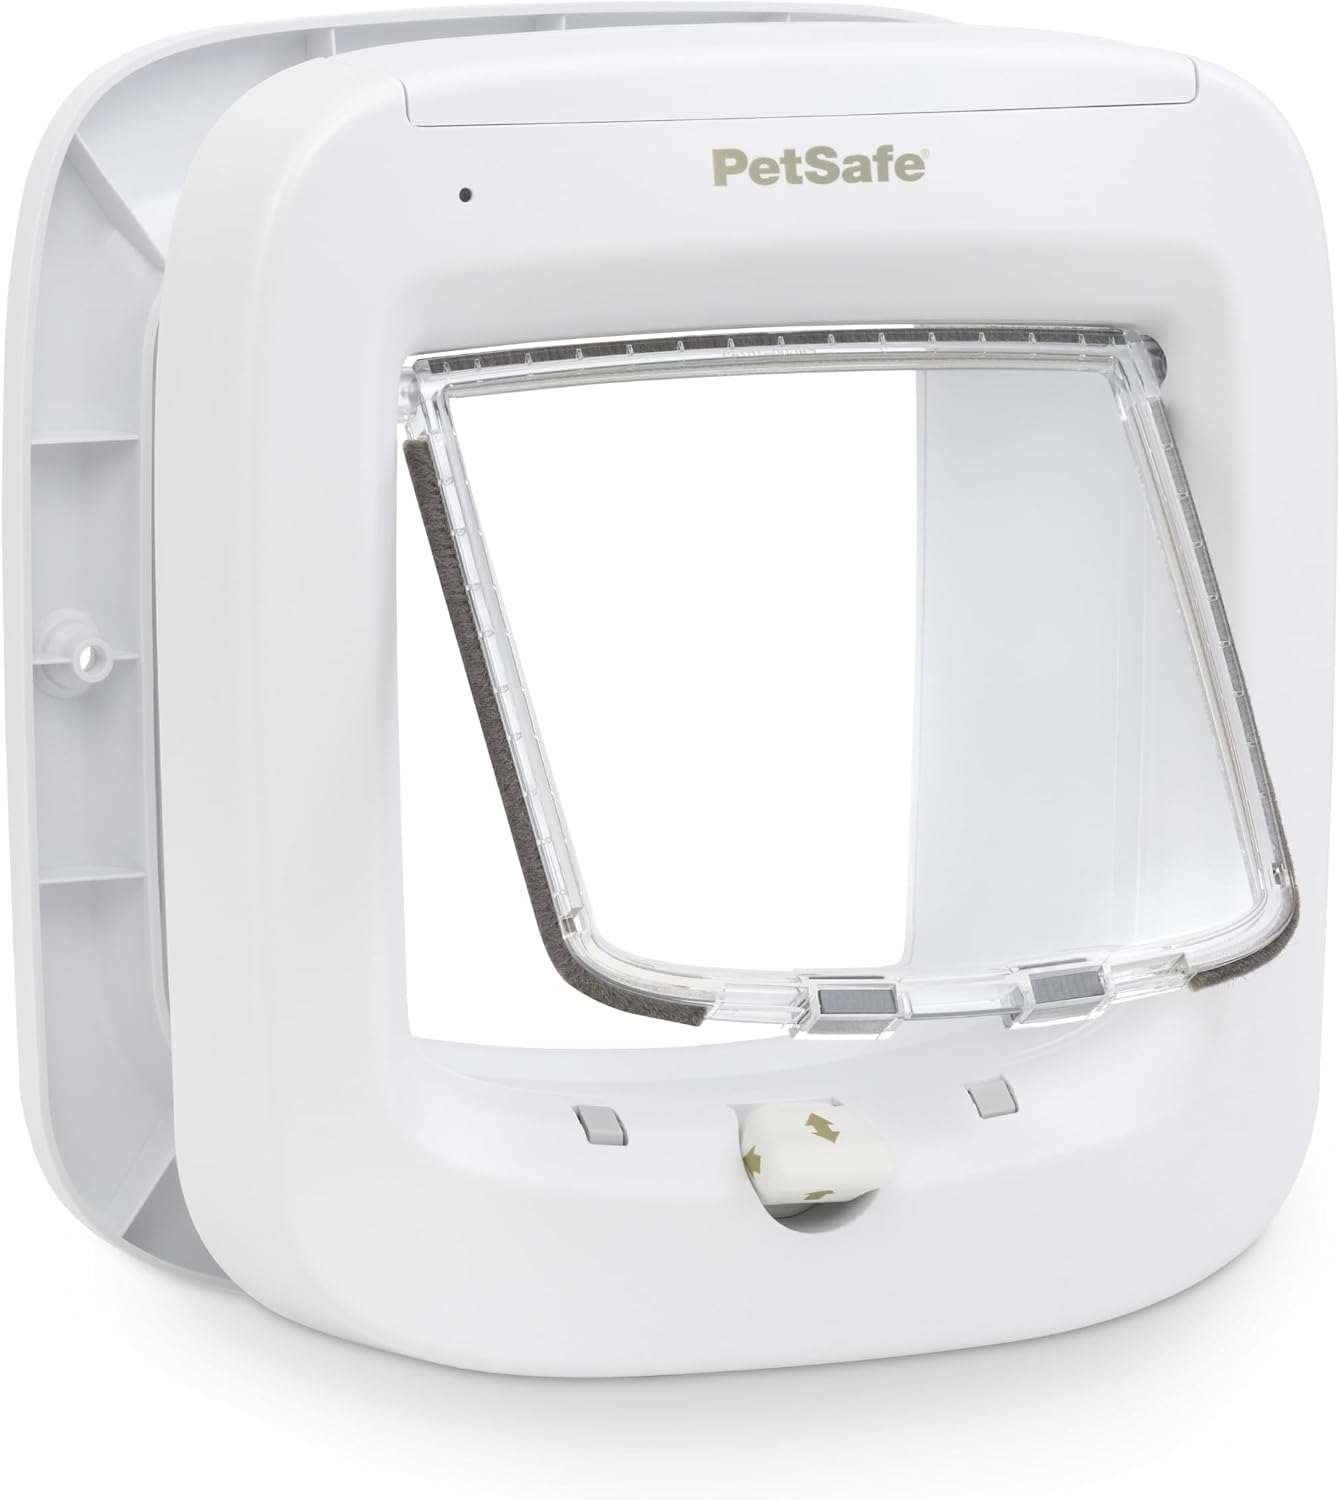
Shop Microchip Cat Flaps on Amazon:
Manual Cat Flaps: