Introducing a Rescue Cat to a Cat Flap: A Step-by-Step Plan
Start Indoors, Always
Before any flap training, a rescue cat needs 4–6 weeks indoors to bond with you, learn the layout of the house, and accept that this is now home. Letting a rescue out too early — even via a cat flap — is the single biggest reason cats go missing in the first months.
Week 1–2: Bond and Observe
No flap involvement. Focus on:
• Safe room first — one room with bed, litter, food, water, hideaway. Let them choose when to come out.
• Positive associations — sit calmly in the room, food rewards from your hand once they approach.
• Watch their exit preferences — which door do they sit by? Which window do they watch? This is where the flap should go.
Do not try to encourage interest in the flap yet. They'll notice it themselves.
Week 3: Flap Held Permanently Open
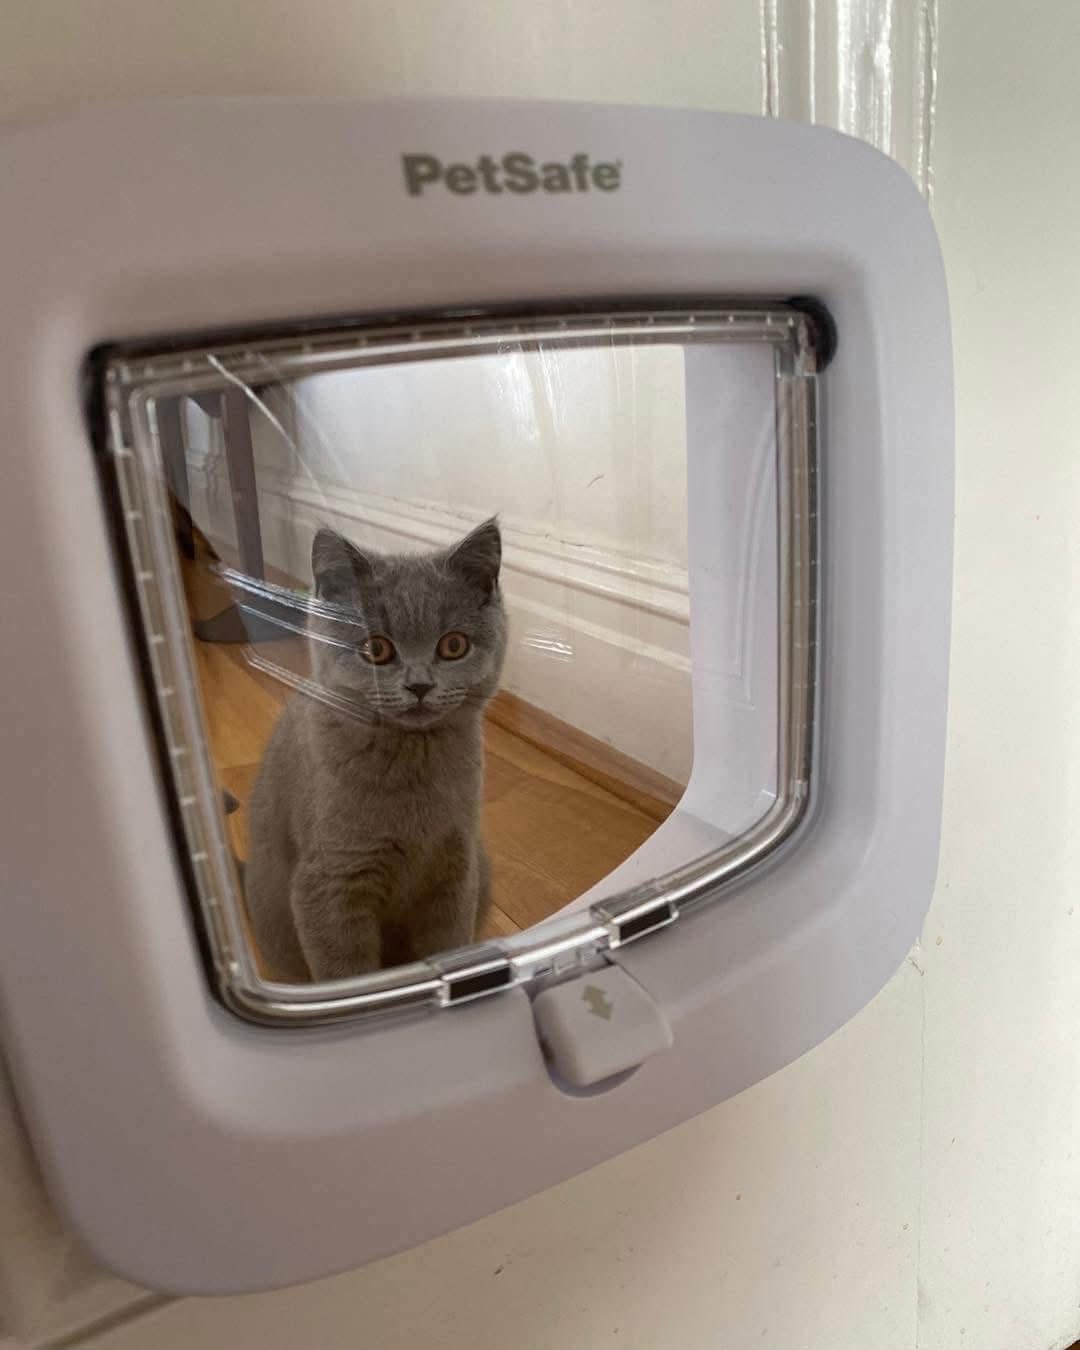
Tape or wedge the flap fully open so it's just an opening — no swinging door, no magnetic resistance, no noise. Place a high-value treat (cooked chicken, Lickelix, prawn) just on the *inside* of the open flap. Let them sniff, investigate, retreat. Repeat daily.
The flap is now a familiar smell and shape, not a strange clattering thing.
Week 4: Treats On Both Sides
With the flap still permanently open:
- Place a treat on the inside
- As they take it, gently place another on the outside (or have a helper do so)
- Let them step or look through. No pushing.
- Reward any movement through, even a single paw
By the end of this week most cats are stepping in and out freely through the open flap.
Week 5: Reintroduce the Flap Door
Remove the tape so the flap door swings, but wedge it open by about 5 cm so they only have to nudge it gently. Treats on both sides, same routine. Some cats find this easy, some retreat — go at *their* pace.
Once they're confidently nudging the propped-open flap, remove the wedge entirely. The first full swing is often the breakthrough moment.
Week 6: First Supervised Outdoor Use
Pick a calm, dry afternoon. Open the flap manually and let them step outside on their own terms. Sit nearby. Don't follow, don't chase, don't pressure. Let them explore the immediate patio for 10 minutes, then call them in with a high-value treat.
Repeat short supervised sessions for 7–10 days before unsupervised access.
For microchip flaps, programme their chip during week 5 so the flap recognises them by the time they're using it independently. Our training guide for microchip flaps covers programming in detail.
Special Cases
Semi-feral or street rescues: extend the timeline. Some need 3–6 months indoors before any outdoor access. Consider a secure cat patio instead of free outdoor access if they're showing high prey drive on local wildlife.
Anxious or hypervigilant cats: add a Feliway diffuser near the flap during weeks 3–5. The calming pheromones genuinely help.
Cats with bad flap experiences (tail caught, slammed on): start one extra week earlier and use only the quietest flaps (SureFlap DualScan, Pet-Tek, Closer Pets) — see our quiet flap guide.
Bonded pairs: train the confident cat first. The nervous one will copy.
Choosing the Right Flap for a Rescue
Rescues benefit from:
• A microchip flap so no other cat can enter and bully them
• A DualScan-style flap with inward-only mode for night safety
• A low-resistance magnetic catch so they don't have to push hard
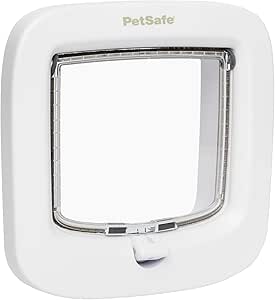
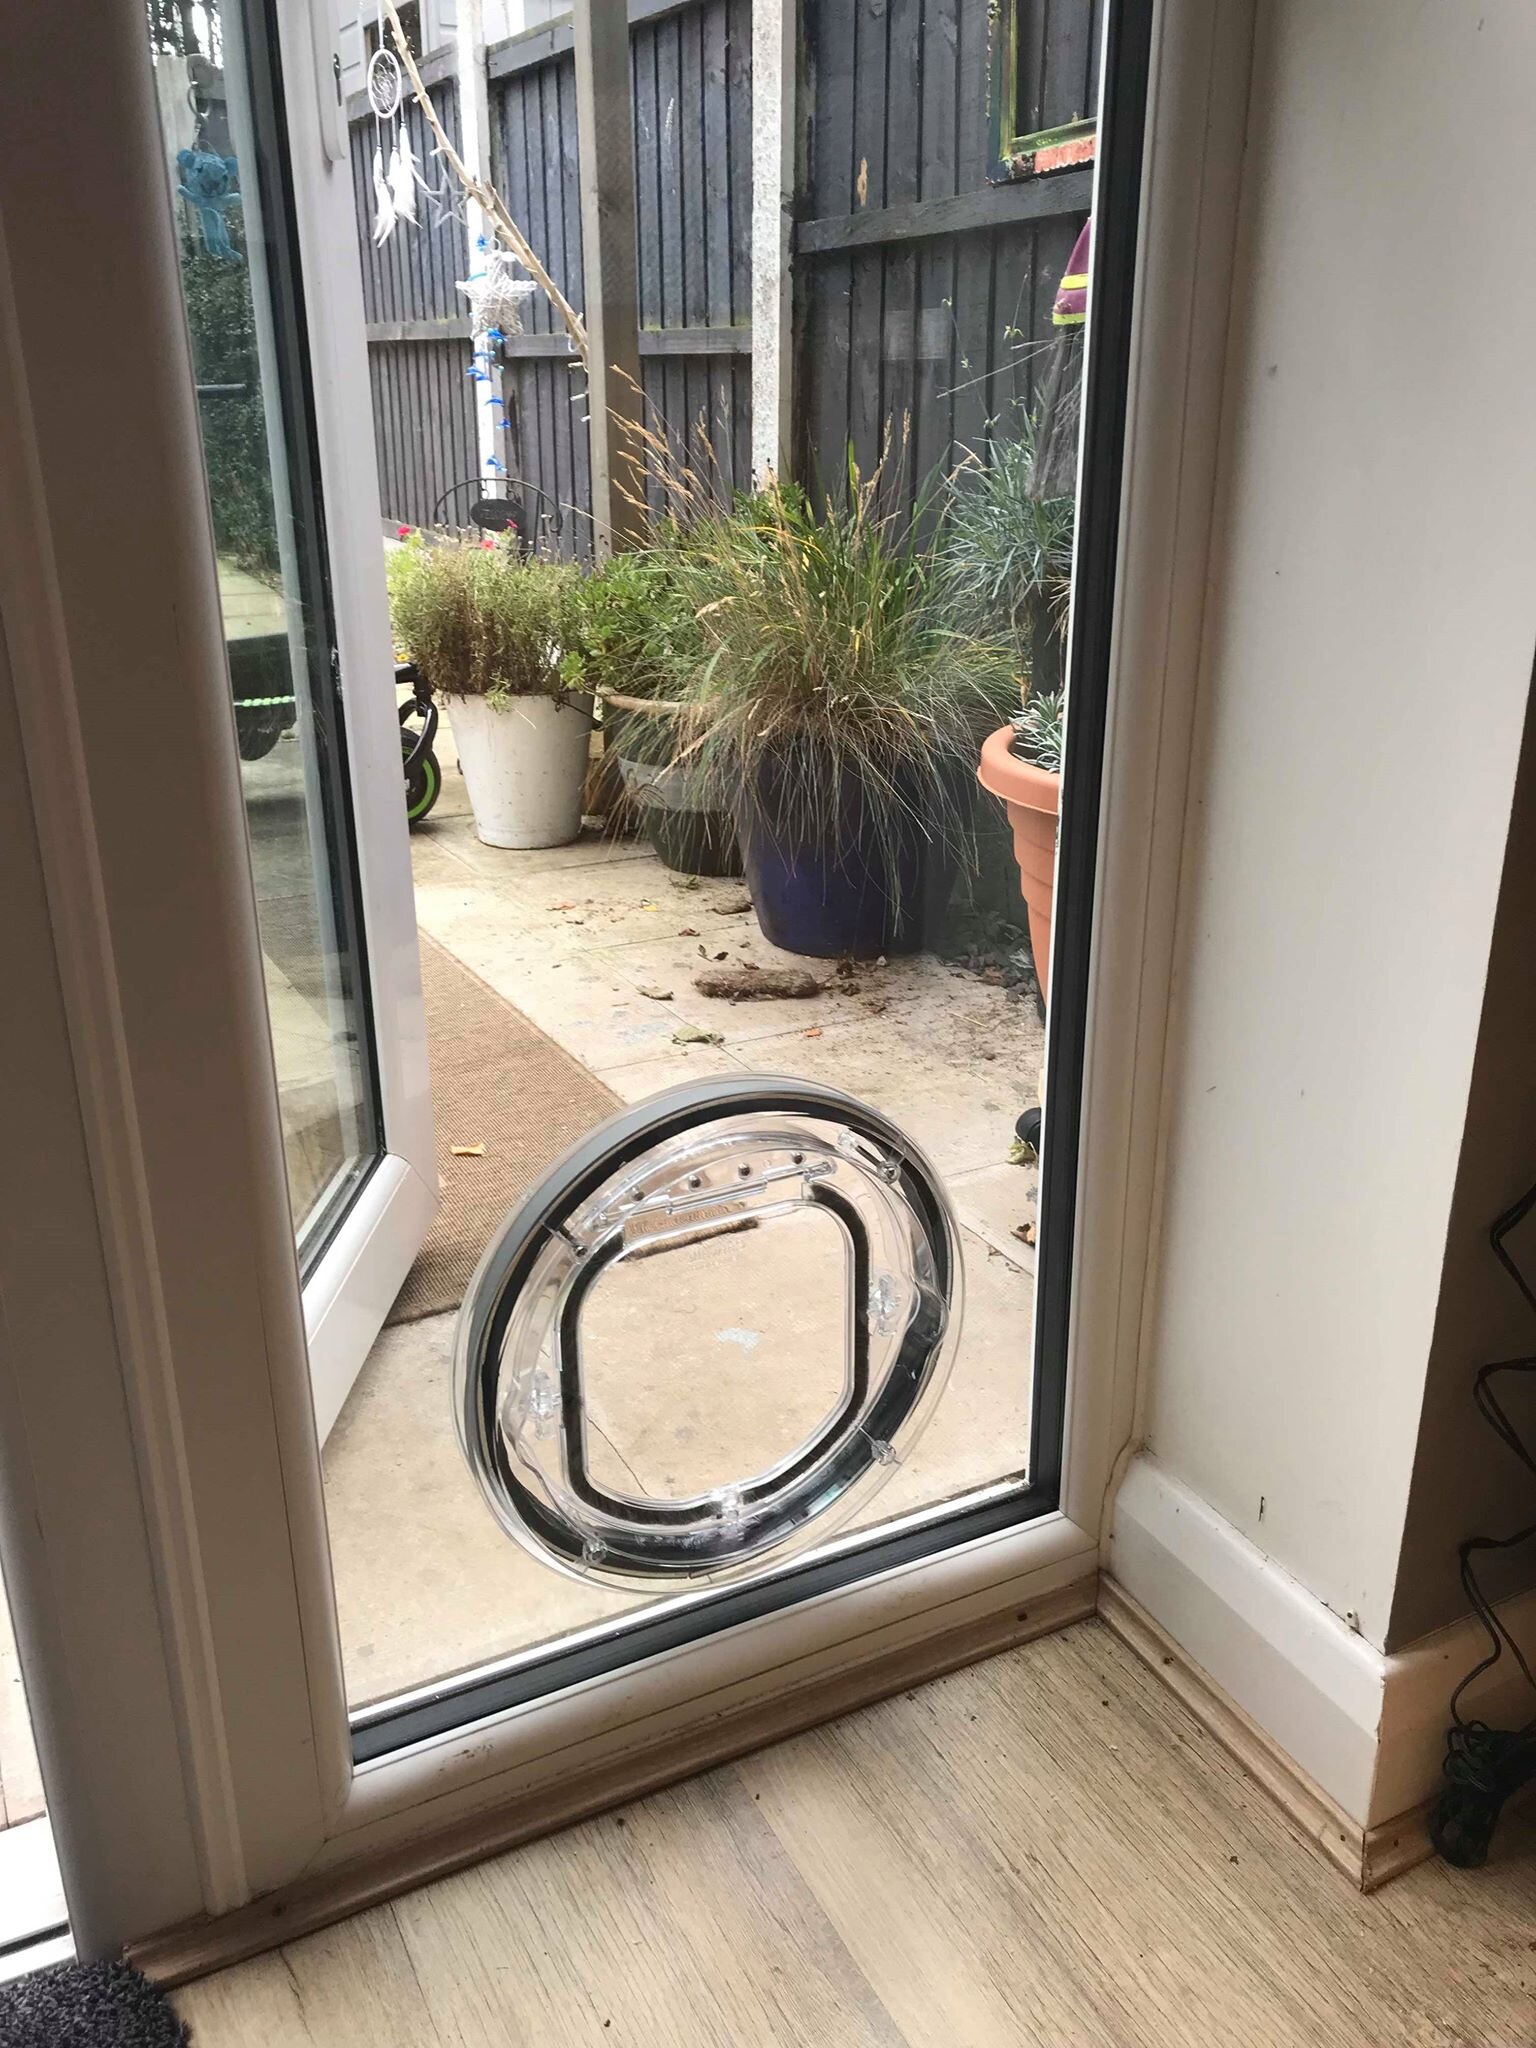
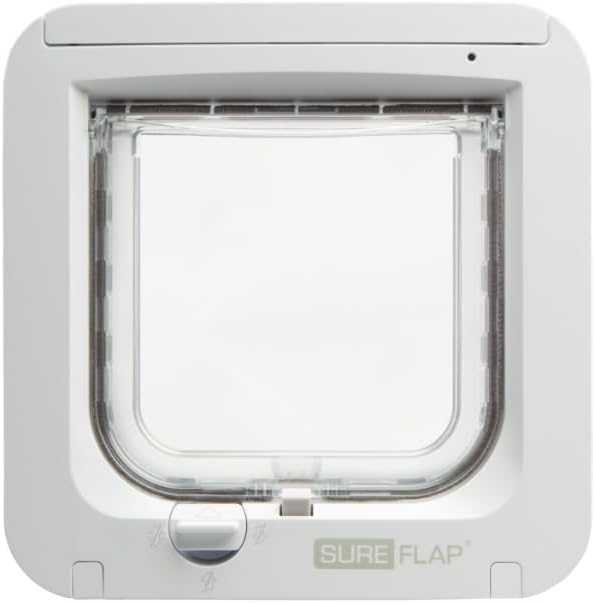
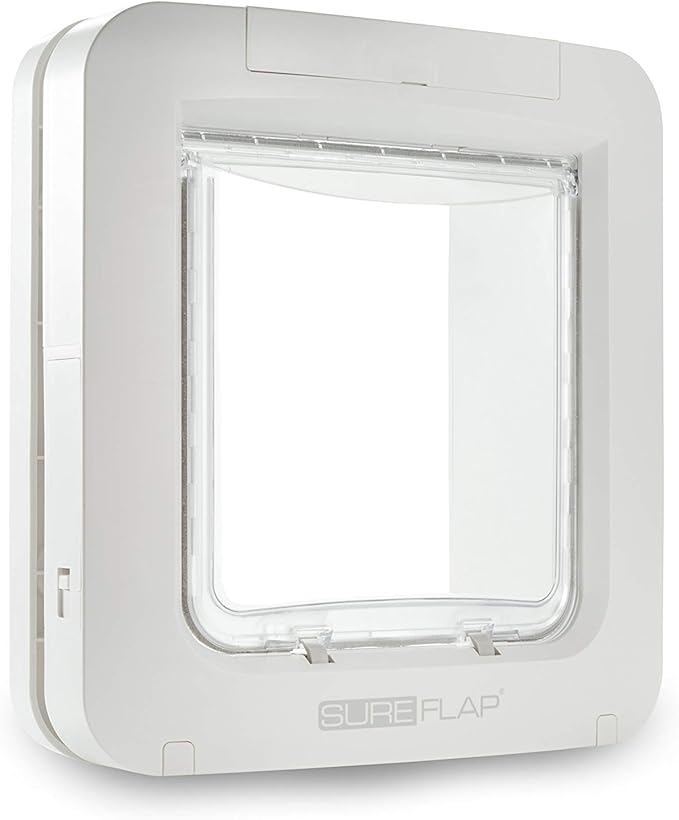
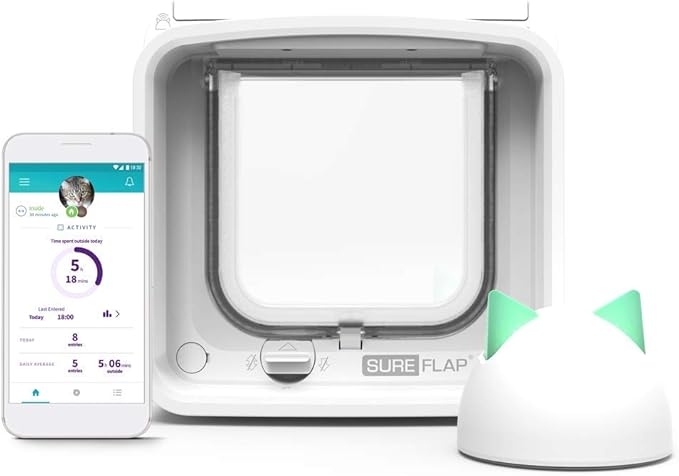
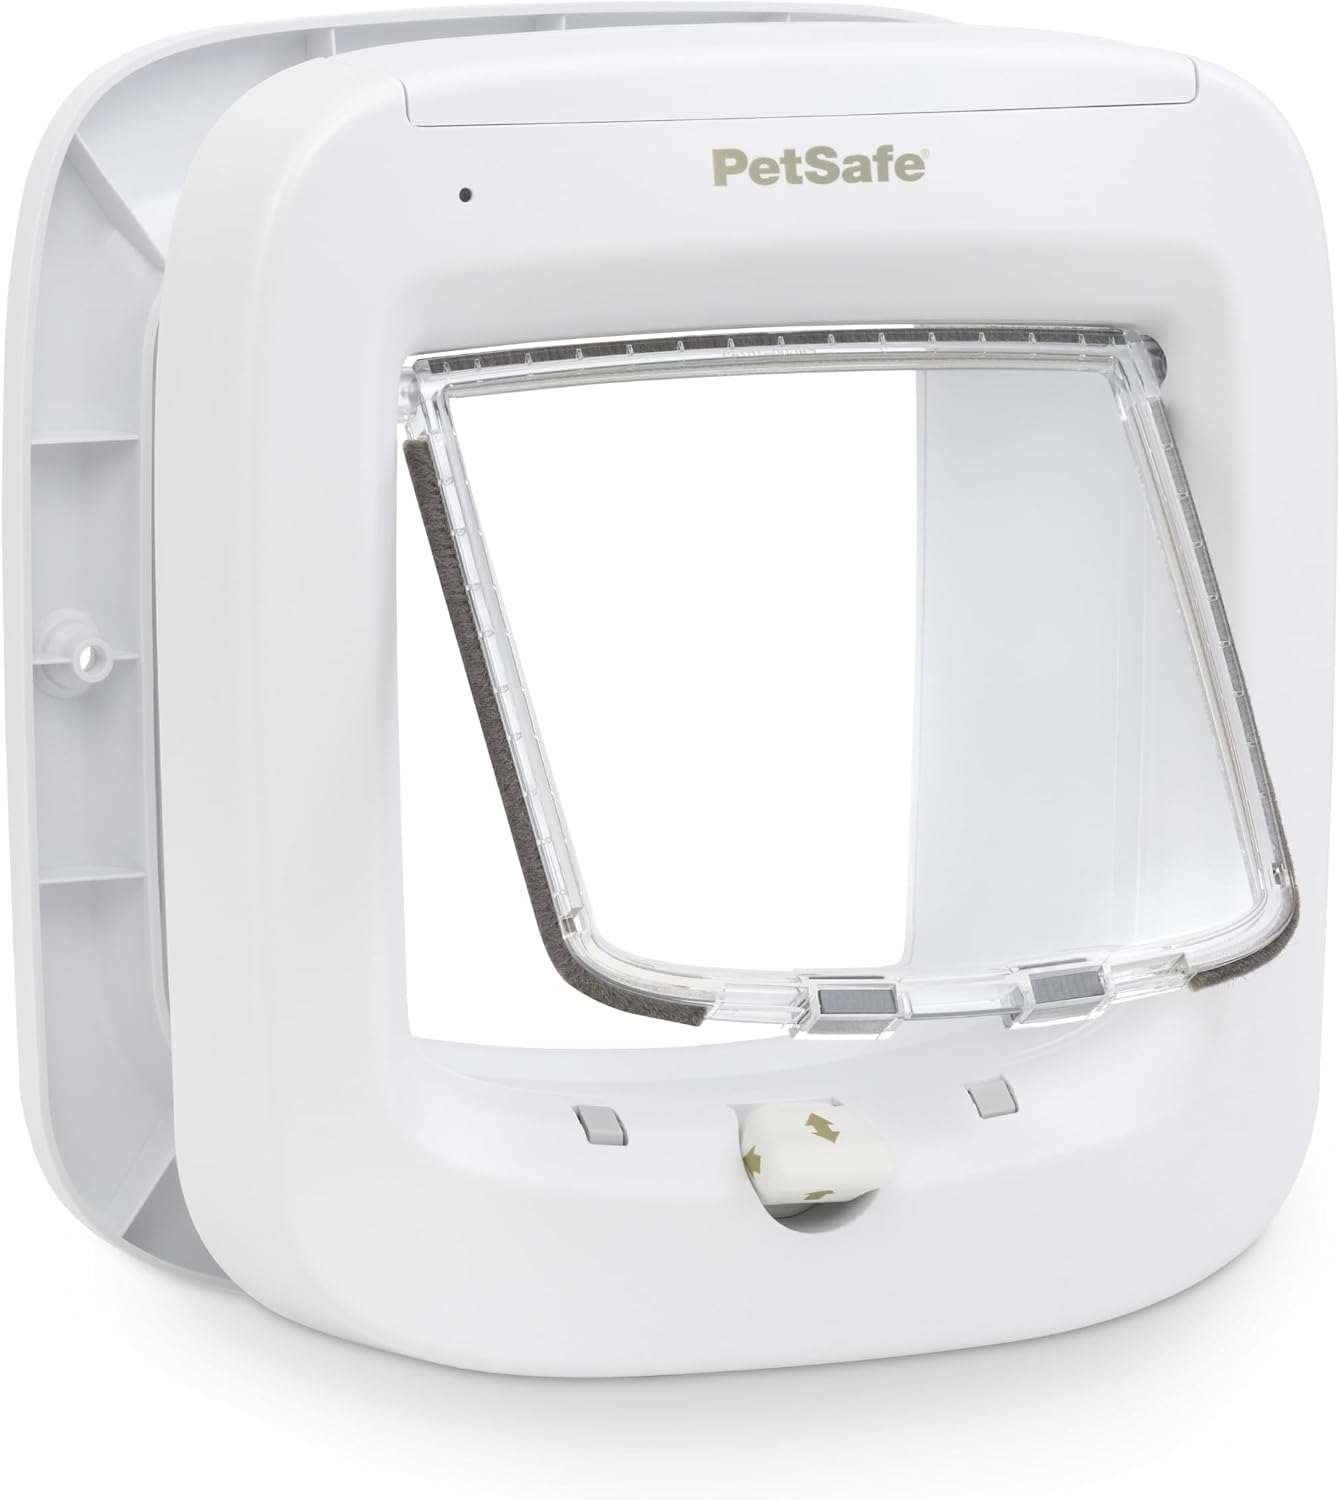
If you're choosing a flap for a new rescue, our SureFlap vs PetSafe comparison and the Pet-Tek glass-fitting flap are the two most rescue-friendly options. Request a quote and mention your cat is a rescue — we'll factor in the right model and the kindest fitting location.
Shop Microchip Cat Flaps on Amazon:
Manual Cat Flaps: