Cat Flap Installation Checklist — 10 Things to Do Before the Fitter Arrives
Why Prep Matters
Most aborted cat flap jobs come down to three things: the wrong flap bought in advance, a door that turns out to be reinforced or laminated, or a cat that's nowhere to be found when it's time to test the microchip.
All three are avoidable in ten minutes. Work through this list the evening before.
1. Confirm the Door Type in Writing
uPVC, composite, aluminium, timber, or glazed — and if glazed, whether the pane is toughened (look for a small etched stamp in a corner). Toughened glass cannot be cut; it needs a brand-new pre-cut unit ordered in advance, which is a separate visit.
If you're not sure, send a photo of the whole door plus a close-up of the glass corner when you book. Our Will It Fit checker covers the common cases.
2. Have Your Cat's Microchip Number Ready
For microchip flaps, the fitter will programme the flap to your cat. Most models learn the chip by having the cat walk through, but having the 15-digit number from the vet paperwork on hand is the fallback when the cat won't cooperate.
If your cat isn't chipped, note that microchipping has been a legal requirement for cats over 20 weeks in England since June 2024. Your vet can do it same-day.
3. Decide the Height — With the Cat, Not the Tape Measure
The rule of thumb is that the bottom of the flap sits level with the cat's belly, typically 100–150 mm from the floor for an average adult cat. Older or arthritic cats want it lower.
Measure your cat standing naturally, floor to belly, and tell the fitter. It's the one decision that can't be undone once the hole is cut. More detail in our cat flap height guide.
4. Clear Both Sides of the Door
The fitter needs about a metre of clear space inside and out. Move the shoe rack, the recycling bin and any planters. On glazed jobs the old unit has to come out horizontally, so there needs to be a clear path.
Lift rugs near the door — drilling composite and uPVC produces fine dust that's a pain to get out of pile.
5. Contain Your Pets (Then Release Them for Testing)
The door will be open, sometimes with the glass out entirely, for up to an hour. Shut cats and dogs in another room with water.
The exception: for microchip flaps, plan to bring the cat to the door at the end for the learn-the-chip step. Have treats to hand.
6. Don't Buy the Flap Until the Door Is Confirmed
The most common wasted purchase we see is a standard-size microchip flap bought for a Maine Coon, or a wall-tunnel kit bought for a glass door.
If you want to supply your own flap, check it against the door first — or let us supply it, so the size and mounting type are guaranteed to match. Sizing guidance is in our cat flap sizes guide.
7. Check Access and Parking
Practical but it derails more mornings than anything else: permit zones, gated developments, rear-access-only gardens, locked side gates.
Tell us at booking. If the job is a rear door and the only route is through the house, we'll bring dust sheets.
8. Flag Anything Unusual About the Door
Things worth mentioning before the fitter arrives:
• Multi-point locking mechanisms running through the panel
• Internal reinforcement (common on composite and fire doors)
• A fire door — cutting one voids its certification and we won't do it
• Trickle vents, blinds sealed inside the glazing, or integral cat-flap-blocking beading
• Any previous DIY attempt
None of these necessarily stops the job, but all of them change the method.
9. Know Where Your Stopcock and Consumer Unit Are
Not usually needed — but if there's any chance of pipework or cabling in a panel (rare, but we've found both), knowing where the isolators are saves ten minutes of panic. Standard practice on any trade visit.
10. Have Your Questions Ready
Worth asking before the first cut:
• Exactly where will the aperture sit? Ask to see it marked before cutting.
• Is the frame being bedded on silicone? (It should be — this is what prevents draughts.)
• What's covered by the guarantee, and for how long? (Ours is 3 years on workmanship.)
• How do I replace the batteries and the brush seal later?
• What's the training plan for the cat?
A good fitter will answer all five without being asked.
After the Fitter Leaves
Tape the flap open for the first 24–48 hours so the cat can see straight through, then let it swing free. Most cats are using it within four days; nervous cats take a fortnight and that's normal — our guide on cats scared of the cat flap covers the process.
Keep the packaging and the spare-parts list. Brush seals and magnets are cheap and you'll want them in about three years.
Ready to book? Get a free quote — we cover North West England, Cheshire, Staffordshire, North Wales and Yorkshire, with a response within 24 hours.
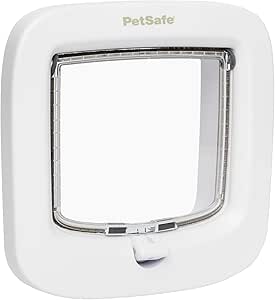
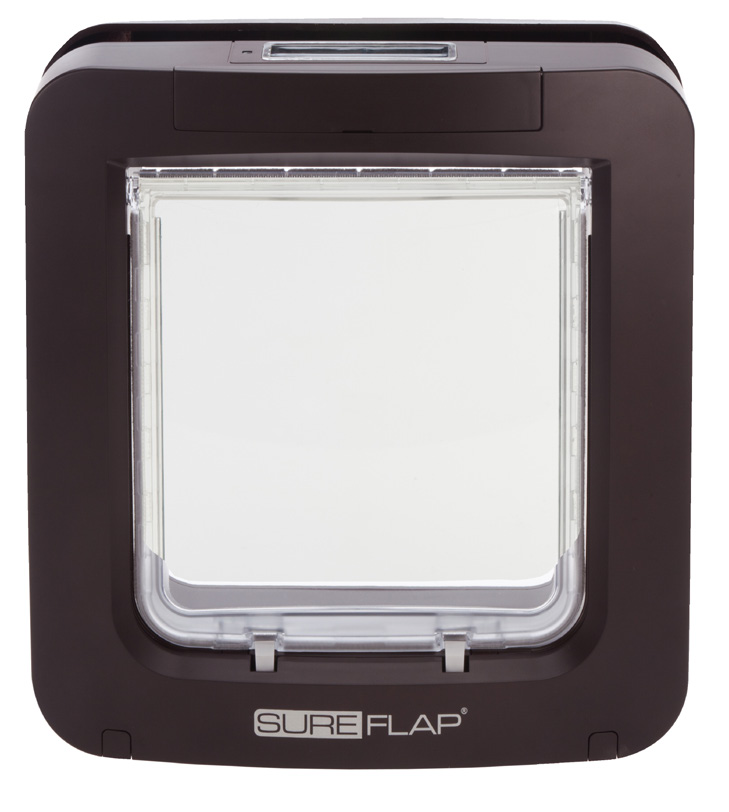
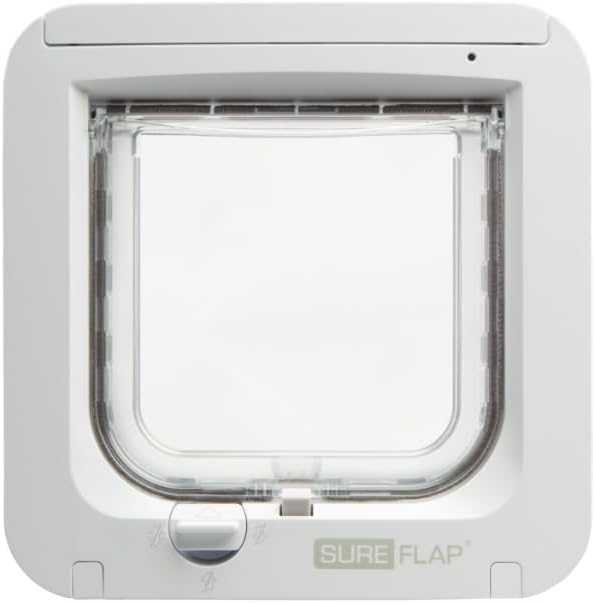
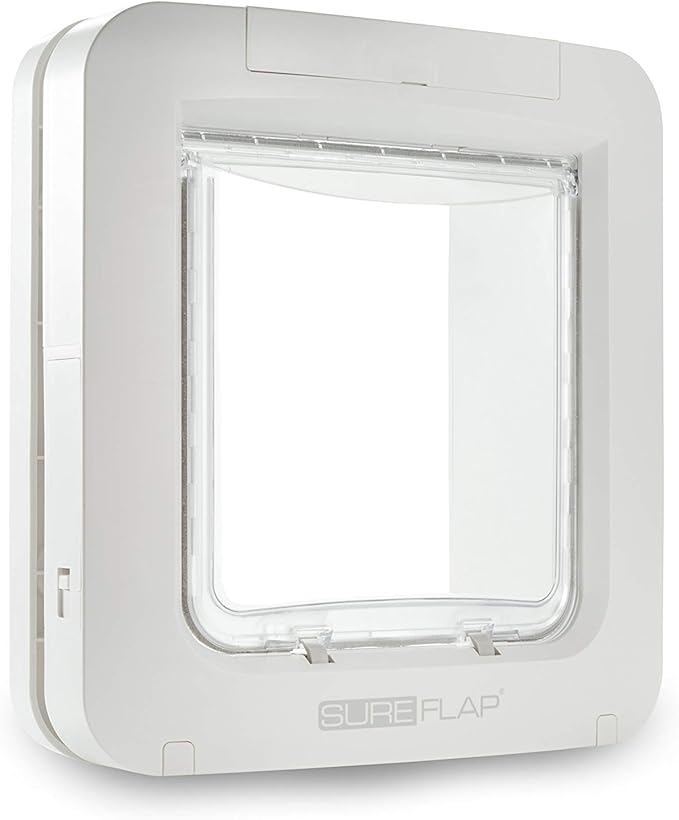
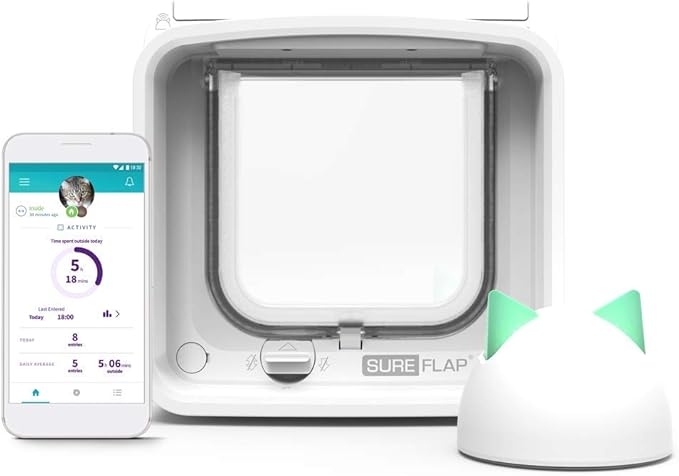
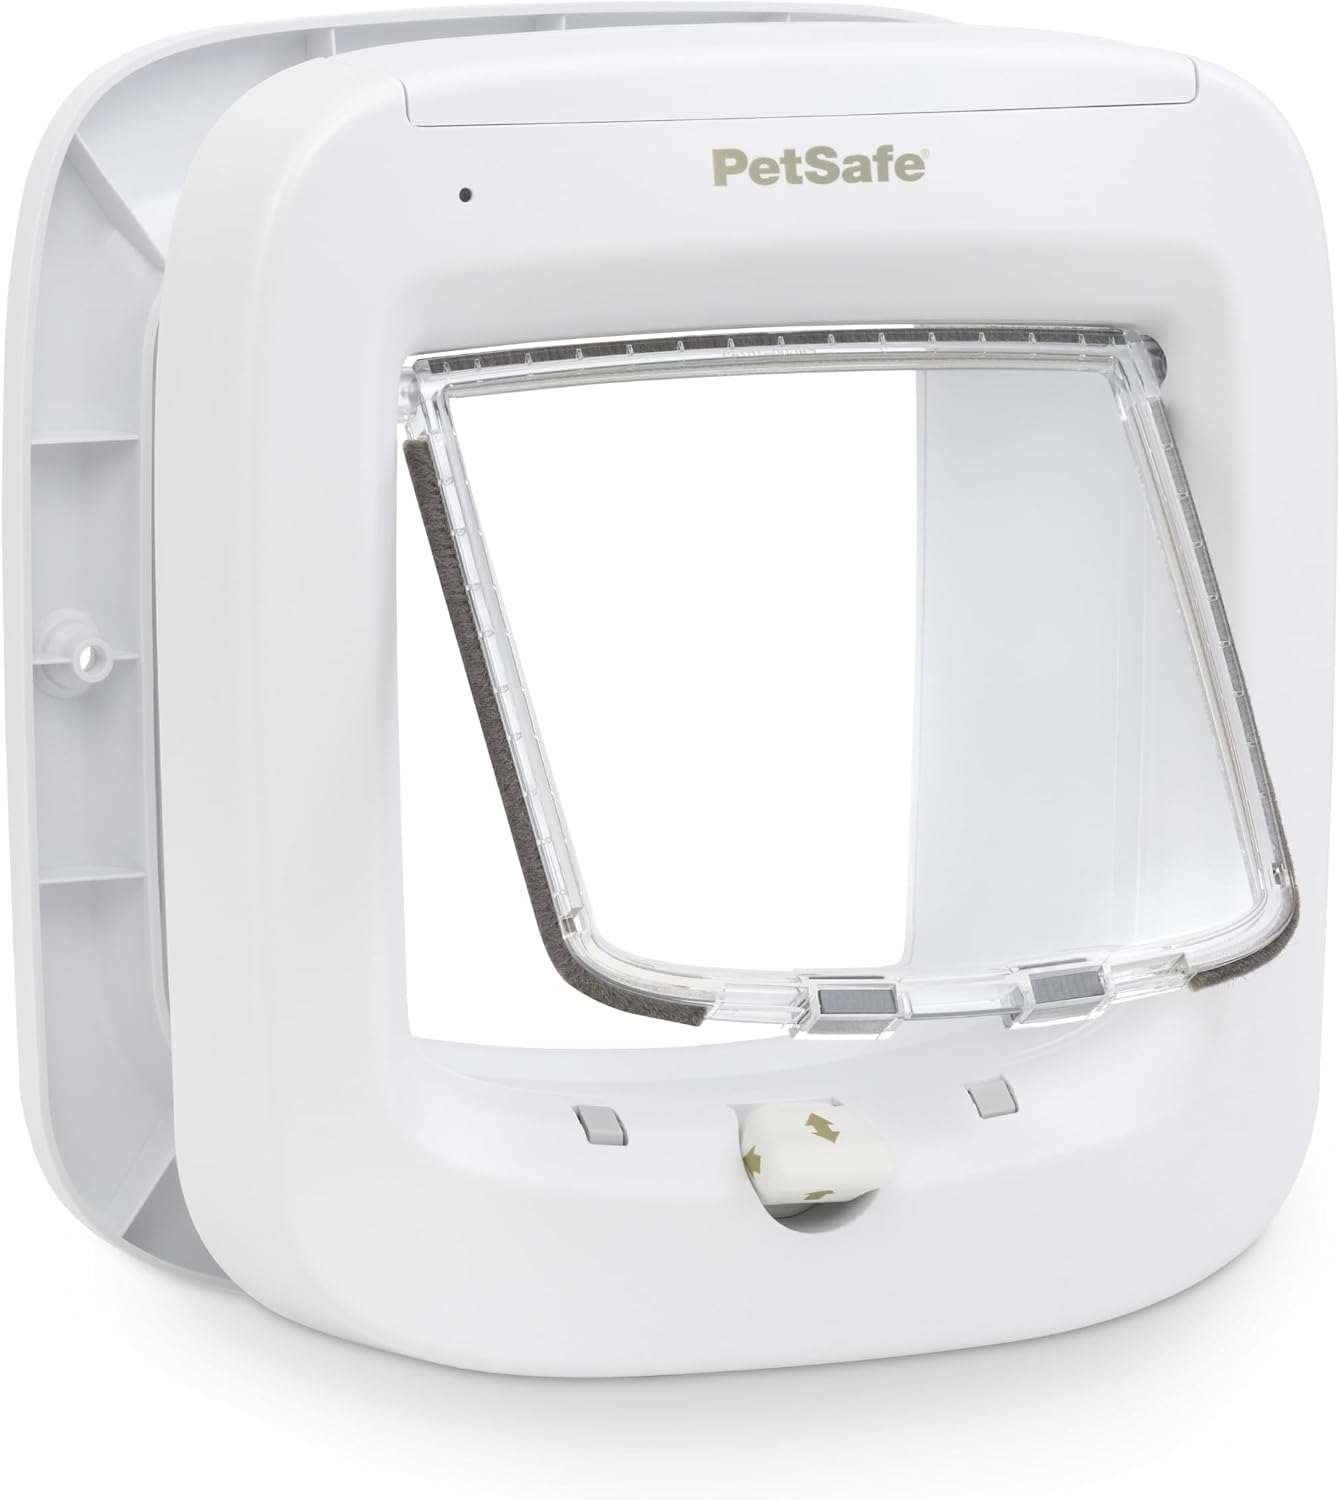
Shop Microchip Cat Flaps on Amazon:
Manual Cat Flaps: